How To Repair Water-Damaged Floors
Water damage is an issue that gives homeowners nightmares. Dealing with this damage is extensive and consumes many resources, money included.
By definition, water damage arises from water getting into unwanted places in your residence, like the walls, floor, and ceiling. The damage is manageable if the water doesn’t sit in your home for too long.
Suppose the opposite happens, and water sits for too long in your home. There’s a possibility of water damage.
Assume the water damages your floors. How will you repair these floors?
Here’s a guide to assist you:
Stop Further Water Damage
As stated in the introduction, the water damage extension depends on the period water sits on your floors or other building elements. Therefore, it’s best to stop further water damage. You can do this by finding the source of the water. It could be from roof leaks or other plumbing issues. With the identification, proceed to stop the water flow.
Suppose you can’t seem to locate the source. The smart way of handling this is to seek the services of a water restoration company. They have the expertise to trace the source and address it.
Remove The Carpet
The next step to take after stopping further water damage is to remove the carpet.
Doing so will give you access to the damaged floors. However, start by cleaning it and proceed to air dry it. Since mold is possible with your wet carpet, please treat it with mold treatment.
Remove Excess Water
Once you’ve removed the carpet, it’s time to remove any water from your floors. The steps to take depend on the amount of water on your floors.
You can use buckets to scoop the water and throw it away from your home if it’s a lot. As the water level drops, a mop will come in handy to remove the excess water.
Proceed with a wet vacuum, fan, or dehumidifier to eliminate any more moisture in your home.
Clean Your Floors
Cleaning your floors is an important step. You want to remove dirt from the flood water. Be as thorough as possible to expose your floor surface.
Start by scrubbing it to remove any mud and debris, and follow with a cleaning solution ideal for your flooring solution.
If your flooring is wooden, please use a mild cleaning solution, preferably with only dish soap. You want to avoid strong solutions with ingredients like vinegar. It’ll burn and stain your wooden floors. For a tile floor, use a tile cleaner for optimum results.
After cleaning, it’d help to treat your floor for mold. It’s an important step whether or not you see mold. You want to eliminate the possibility of mold growth due to the prolonged moisture exposure on your floors.
Inspect Your Floor
After cleaning your floor with the right solutions, it’s well exposed for a thorough inspection.
During this stage, you’re to identify damaged parts of your floor. There’s a probability that not the entire floor is damaged.
Your inspection technique depends on your flooring. For instance, for a wooden floor, look out for cupping. An uneven floor surface symbolizes it. You’ll find the edges of your floor higher than the middle parts. You can see discolored patches too.
For a tiling floor, step on it to identify loose pieces. You can hit your floor with a hammer or mallet and look for hollow sounds while tapping as well.
As you inspect your floors, it’s important to take your time. You don’t want to miss any damaged sections.
Remove The Damaged Parts
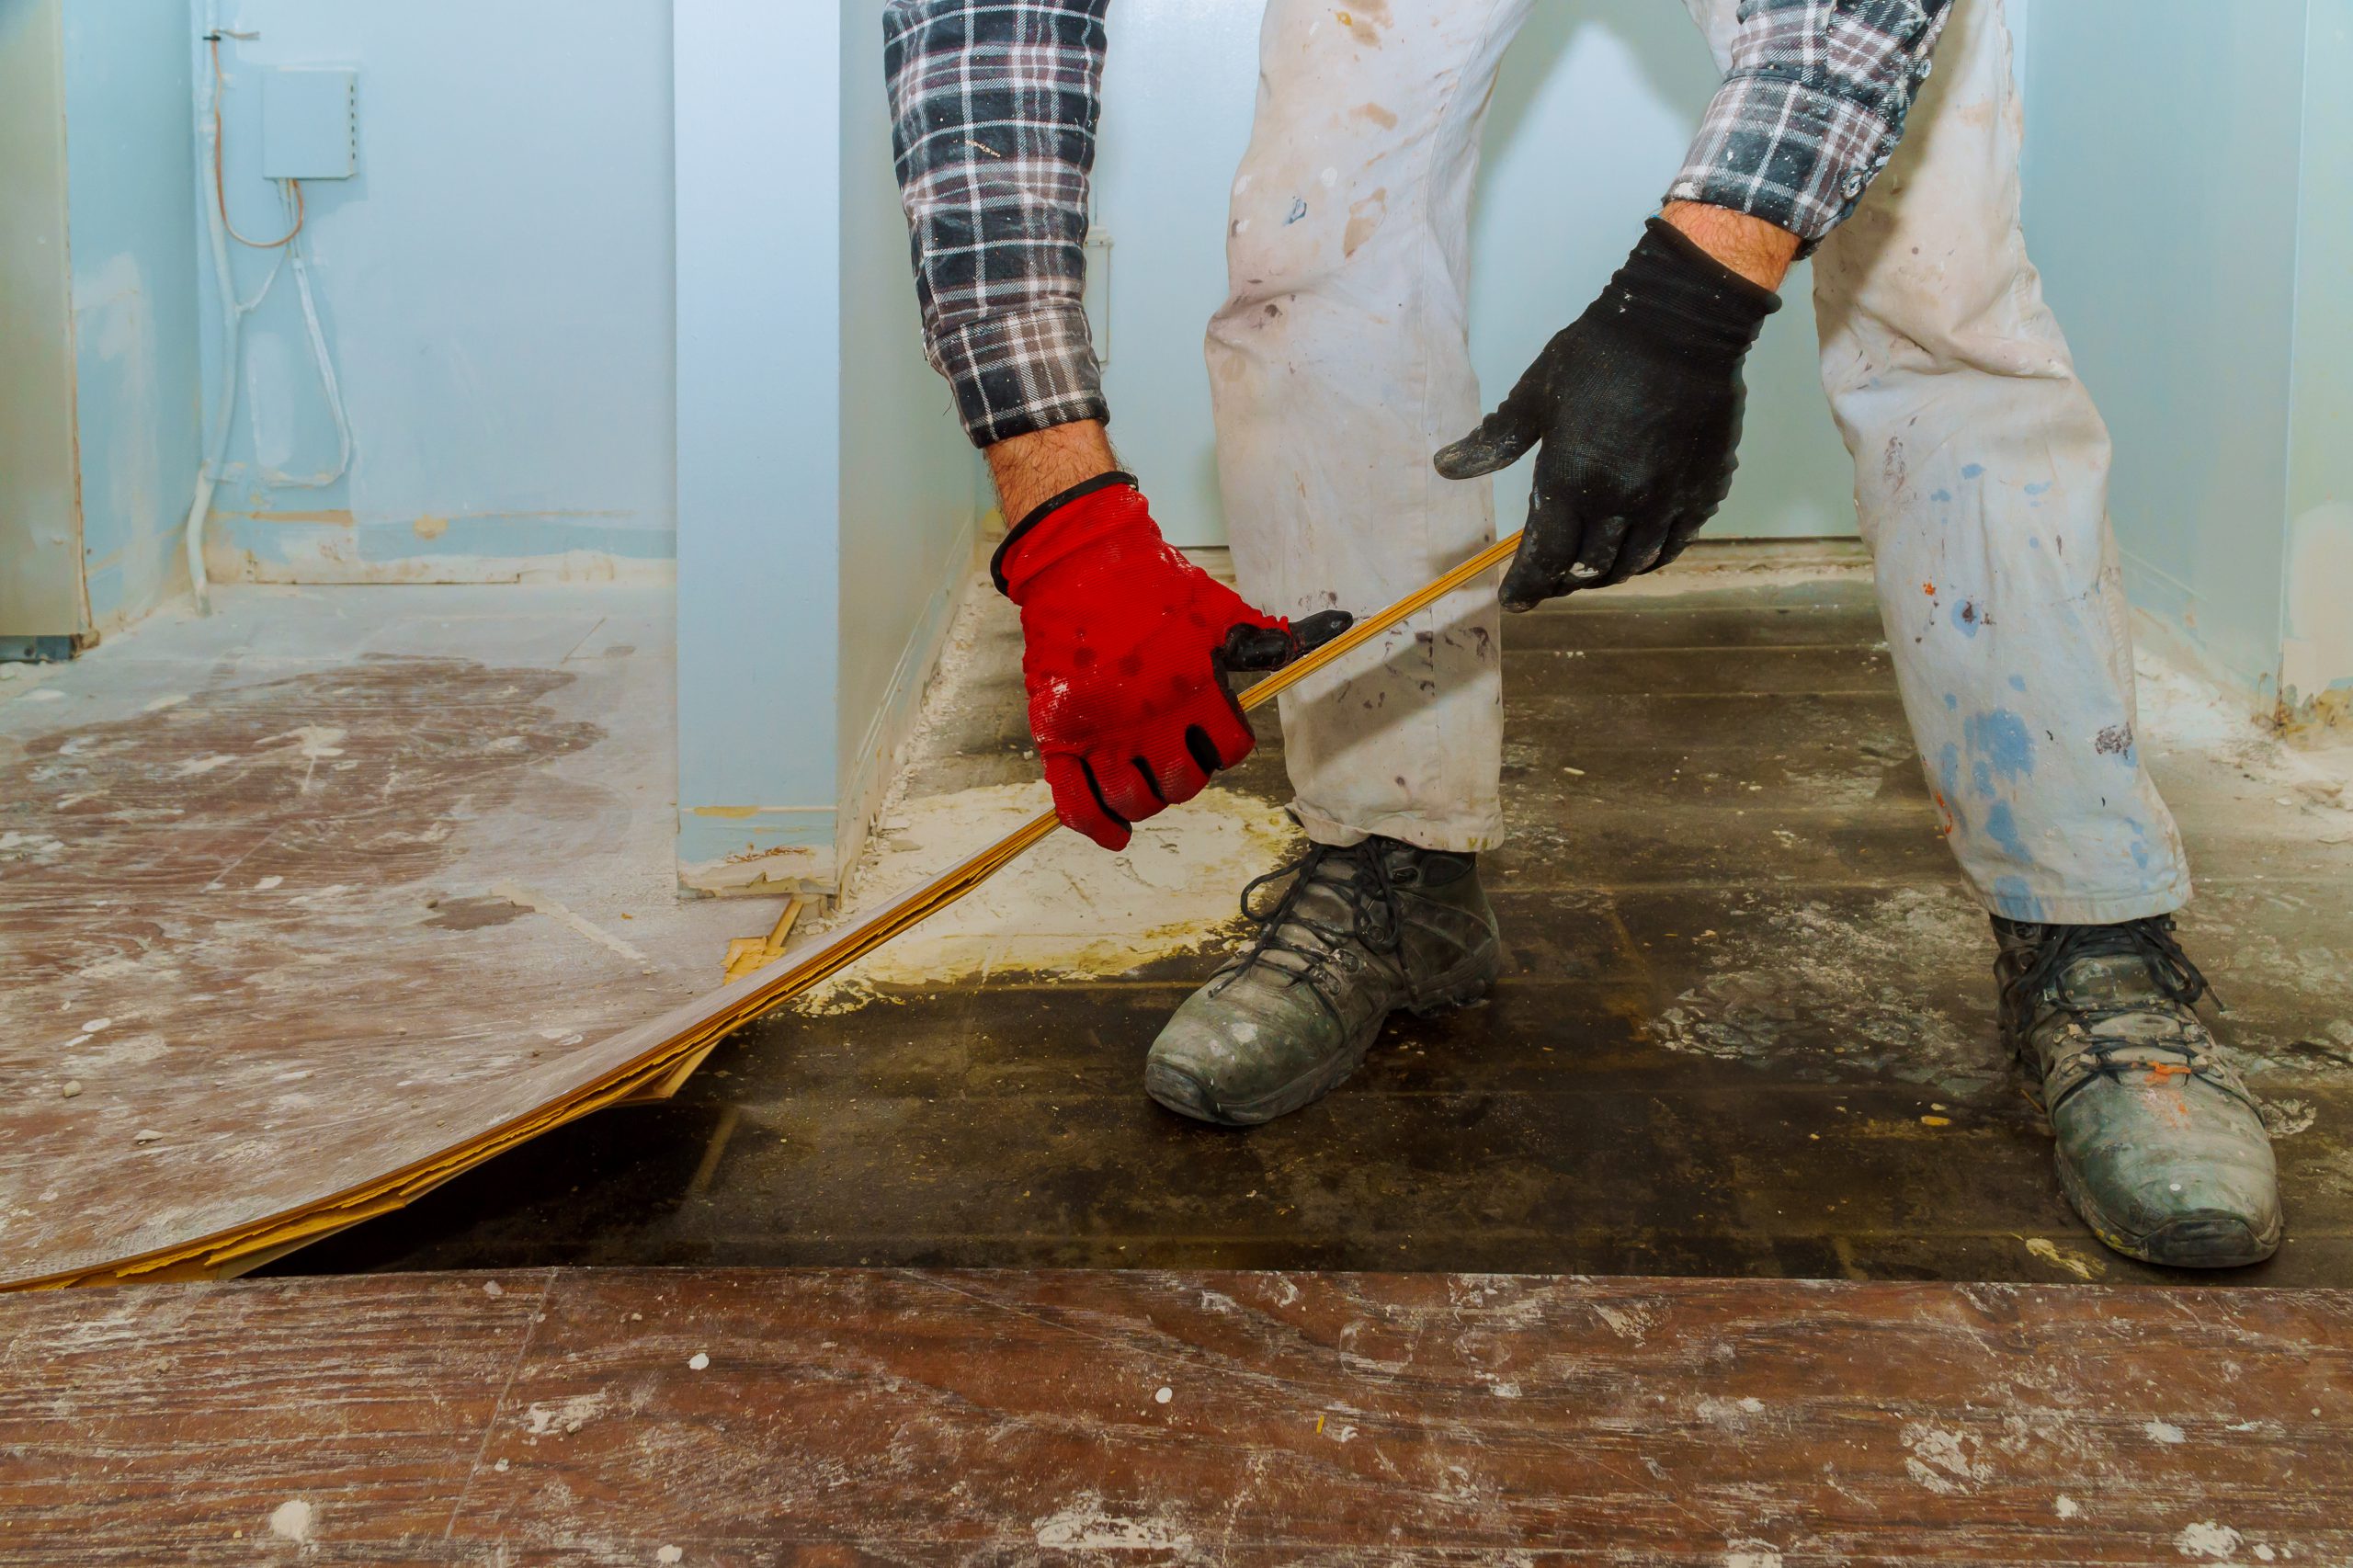
Once you’ve identified the damaged parts, it’s time to remove them.
Here, please research the tools you need for the job, all of which depend on your flooring. You want to be careful with the removal to avoid damaging the non-damaged parts.
If you don’t know how to undertake the process, use the internet as a resource. Alternatively, you can leave this part to the experts. They have the skills and tools for the job.
Adequately Dry Your Floor
As water sat on your floors, there’s a likelihood it seeped into the subfloor. Therefore, it’s important to dry your floor before doing any repairs.
With the flooring partly exposed, leave it to dry for approximately 24 hours. The more hours, the better your flooring and subfloor will dry.
Treating your subfloor for mold as a preventive measure would be an added advantage.
Replace The Damaged Parts
After adequate drying, it’s time to replace the parts you removed.
Once again, start by ensuring you have the necessary tools for the job. And you want to know how to replace your flooring.
Suppose your flooring is laminate. You should know where to drive in the nails for firm support. With tiling, know the amount of grout to apply to ensure your new tile bonds well with the older pieces.
After installation, ensure the floor is level. You can level your new floor by tapping with a mallet.
Proceed by laying your clean and dry carpet and rearranging your furniture.
Conclusion
Water damage is an occurrence that can be stressful, especially when you don’t know what to do. This discussion has minimized the stress by guiding on repairing water-damaged floors. Consider implementing this guide in the event of water damage. In addition, you can use the insight to help friends and family in such situations.


